Free Website Counter

Project updates - Side & Front Panel

Posted : Tuesday, November 28, 2006 by johnybravo at 11:26 pm | 2 Comments


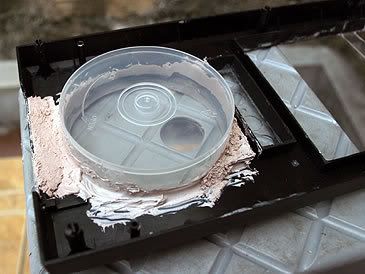
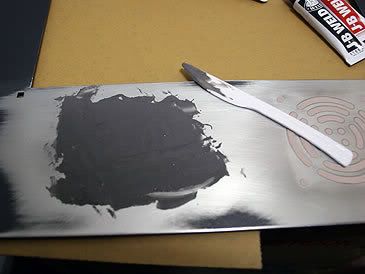
I was walking through Ace Hardware a while ago and i came across an adhesive i have been looking for but my purpose for it was to join two parts together but then i read more of the info on the label and thought it might solve my side panel problem...


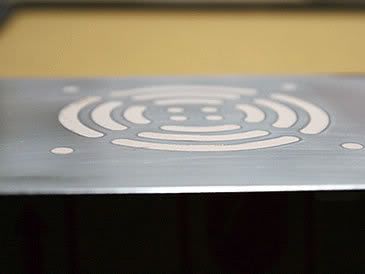
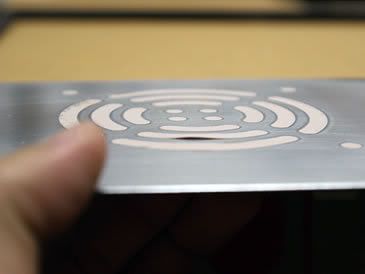
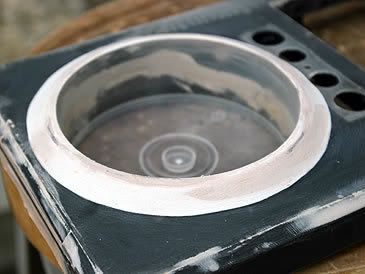
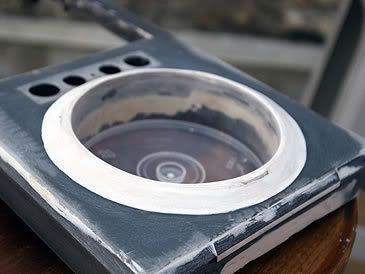
Here is where the problem lies, after applying bondo to the side panel and sanding it down, i realized that it didn't bond to the side panel. Looking at the picture above you can actually see me lifting the bondo pieces with my finger.


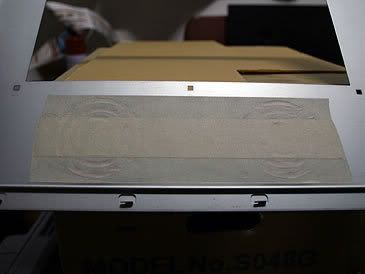
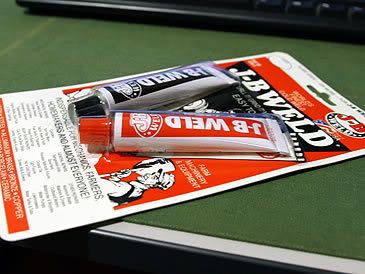
The only thing that kept the bondo attached to the covered hole was this masking tape at the back. And here is my solution JB WELD steel adhesive. After applying this, you can even drill through it, cool eh? hehehe


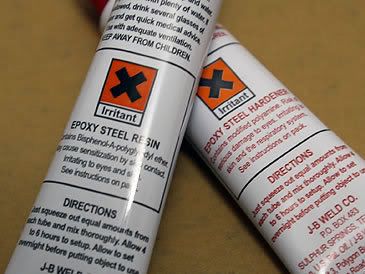
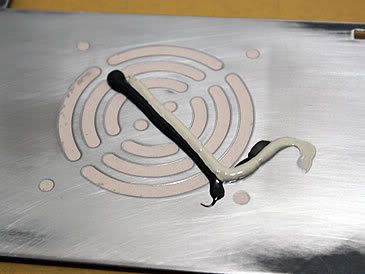
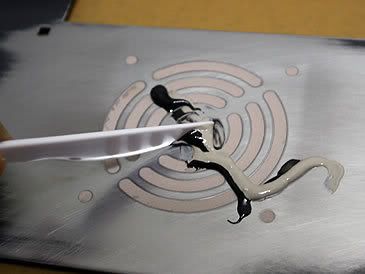
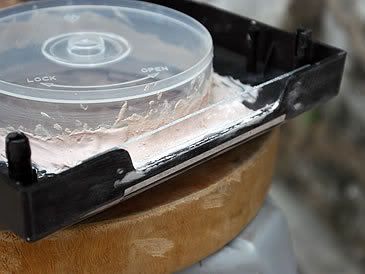
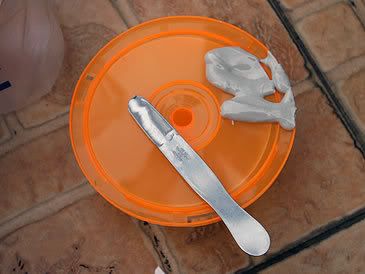
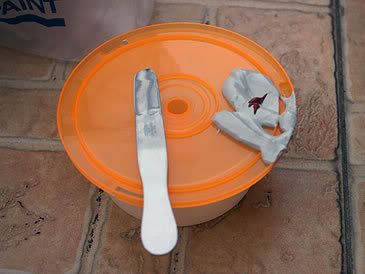
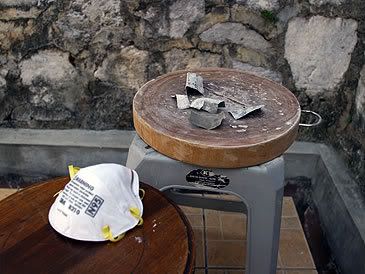
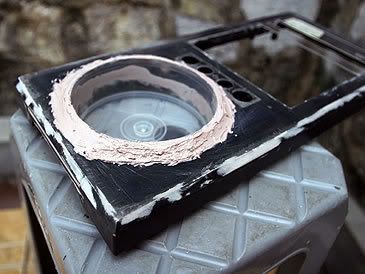
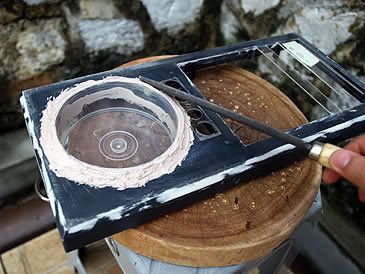
Time to prepare some steel adhesive, using a plastic knife i got from McD's :) Equal amount of Epoxy steel resin and Epoxy steel hardener.


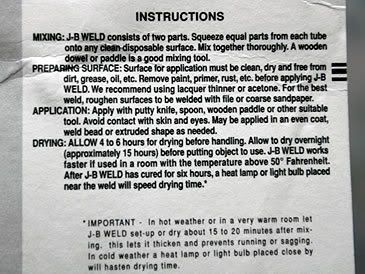
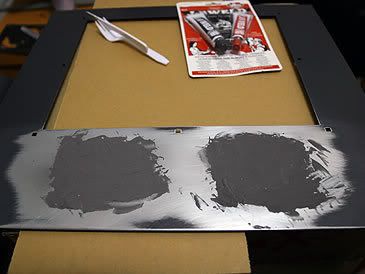
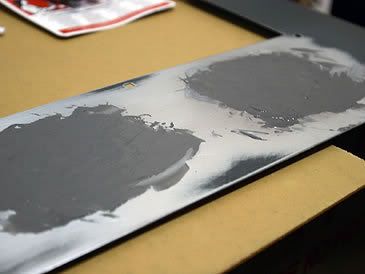
Following the instructions and applying it evenly onto the area that you want to seal up. You have to allow 4 - 5 hours for it to dry and at least 15 hours before you can work on it.


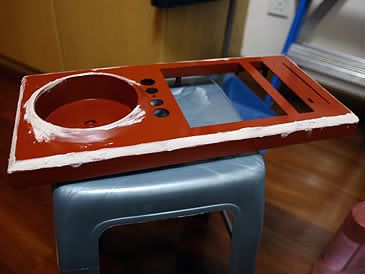
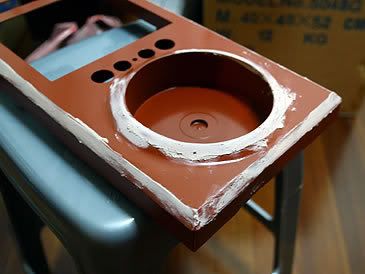
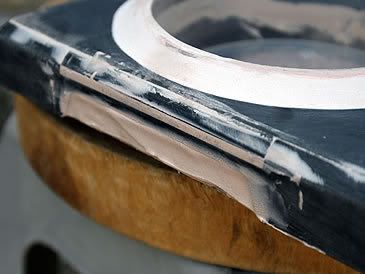
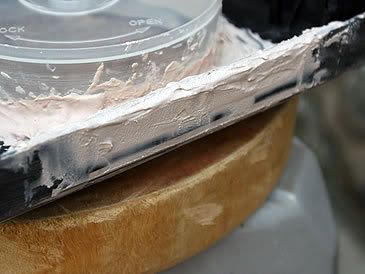
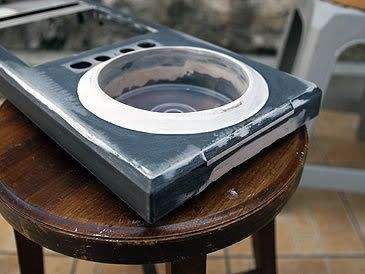
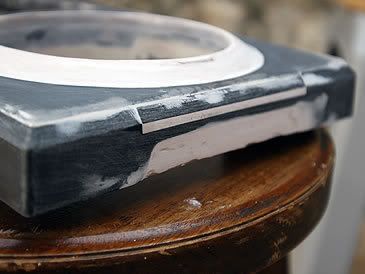
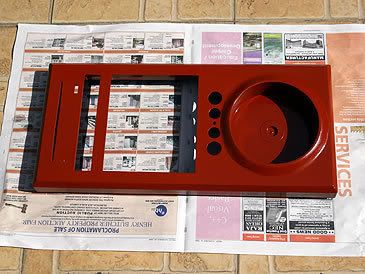
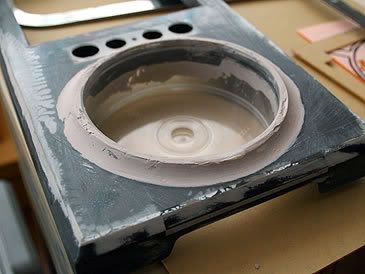
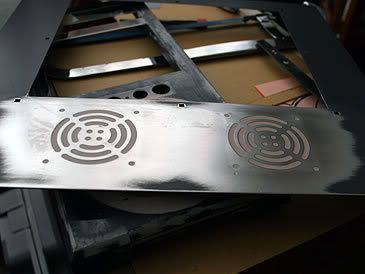
Here are some images of the front panel. I have applied more bondo on areas which have small pin holes or that are uneven.


Stay tuned for more updates...

____________________
|   2 Comments   |


Project update - Front Panel

Posted : Sunday, November 26, 2006 by johnybravo at 2:23 pm | 4 Comments


Its been one week since my last update, been busy the whole week and finally manage to get some work done without the rain pouring down.


I drew a new template onto the acrylic sheet and cut it out.


I glued a piece of acrylic to the bottom of the front panel to cover the bottom part which was exposed. Later i prepared some bondo, mixed it up with the hardener and applied it to the bottom to seal it up.


I had to fill the bottom with bondo twice so that the surface was equal to the bottom of the front panel. I also applied some bondo onto some pinholes on the front blow hole using my finger so it would be easier to smudge it on with a smooth application.


I realized that using a file to smooth the bondo surfaces was not effective and it often left chipped marks. So this time i had to do it the professional way with good old sandpaper. After lots of sanding and mosquito bites, you`ll notice how much smoother the blow hole and bottom part looks.


Using the heat from the sun to dry the bondo is a very effective and fast method. Next i prep the front panel for a layer of primer. This will make all the rough edges that need to be smoothen out with the sandpaper and areas where there needs to be more bondo applied appear. After one or two coats of primer and into the sun again for drying.

Looking at the last picture will give you an idea of how the front panel will look like.


Stay tuned for more updates...

____________________
|   4 Comments   |


Project update - unproductive weekend

Posted : Sunday, November 19, 2006 by johnybravo at 11:16 pm | 2 Comments


I didn't exactly get much work done this whole entire week cause it has been pouring like cats and dogs...


Applied more bondo to the front & back part of the blow hole.


Since it was raining and raining and non-stop raining, i decided to do some wet sanding since it was raining. I filed and sanded the front blow hole and the side panel. Look at how smooth the front blow hole is but it still needs more bondo and more filing and sanding. The side panel still need more bondo work to be done on it.


Some stuff i bought from last weekend. A couple meter of wiring, some 3mm & 5mm LED and a veroboard.


I changed the translucent knobs of the fan controller to machine billet look-a-like plastic knobs.


More stuff i bought over the week. More LED for backup, rubber insulation hosing, detachable plugs, 20w solder & a micro cutter.


I couldn't do any work on the front panel or side casing due to the rain, so i decided to do some soldering. The LED on the fan controller are blue and i hate those cliche blue LEDs so commonly used in a lot of products these days. I was going to change the LEDs to orange colored LEDs. The new LEDs needed to be bent to a 90 degree angle to follow the design of the existing LEDs.


I can seriously say that soldering is not an easy task! And i think i suck in soldering, either that or 20w solder is not hot enough! It took me hours to solder out all the existing LEDs, 12 to be exact.


Next is to prep the LEDs to be soldered onto the PCB(printed circuit board).


Here is the completed soldering work. New orange LEDs replacing the old blue LEDs. Don't they look nicer. They are actually amber LEDs, i couldn't get my hands on any orange ones.


Since i was soldering the fan controller i decided to change the current switches to the new ones and also replace the red LED of the HDD activity light to an orange LED as well.


Here is the insulation hosing & detachable plugs, so i won't get short circuit and for easy removal of the wires when i install the switches onto the front panel. The wires for the HDD activity light are soldered onto the LED and protected with heat shrink.


Stay tuned for more updates...

____________________
|   2 Comments   |