Project update - unproductive weekend
Posted : Sunday, November 19, 2006 by johnybravo at 11:16 pm
![]()
I didn't exactly get much work done this whole entire week cause it has been pouring like cats and dogs...
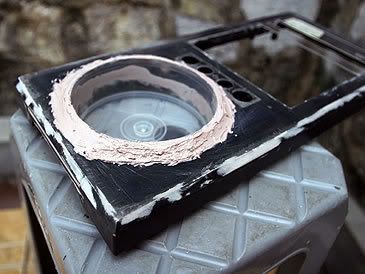
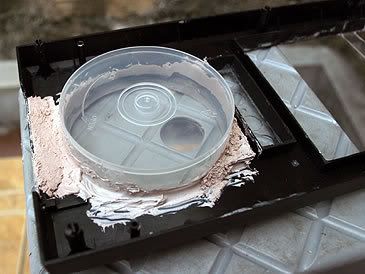
Applied more bondo to the front & back part of the blow hole.
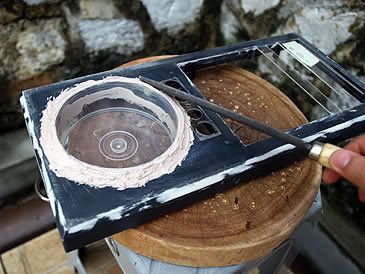
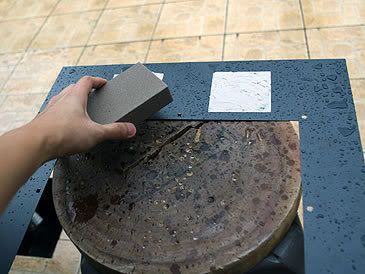
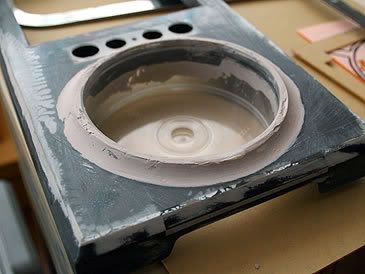
Since it was raining and raining and non-stop raining, i decided to do some wet sanding since it was raining. I filed and sanded the front blow hole and the side panel. Look at how smooth the front blow hole is but it still needs more bondo and more filing and sanding. The side panel still need more bondo work to be done on it.

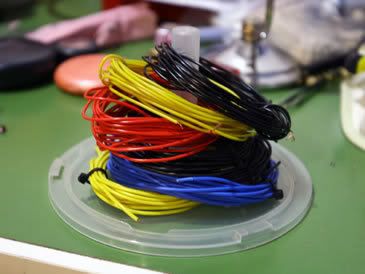
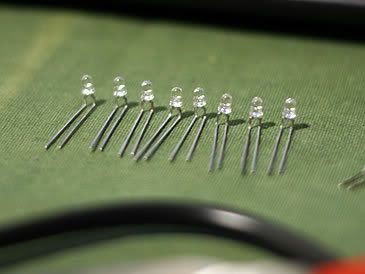
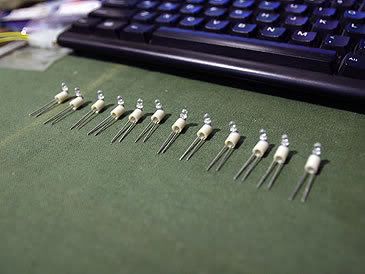
Some stuff i bought from last weekend. A couple meter of wiring, some 3mm & 5mm LED and a veroboard.
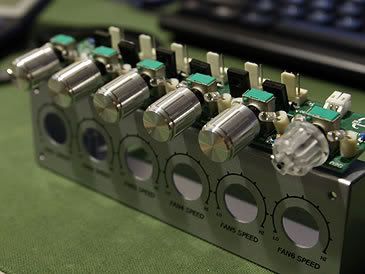
I changed the translucent knobs of the fan controller to machine billet look-a-like plastic knobs.
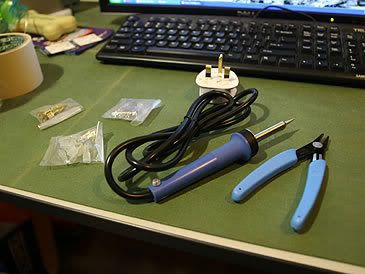

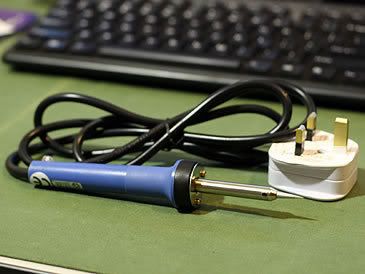
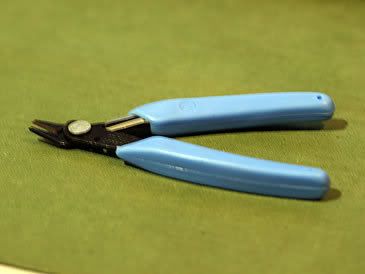
More stuff i bought over the week. More LED for backup, rubber insulation hosing, detachable plugs, 20w solder & a micro cutter.
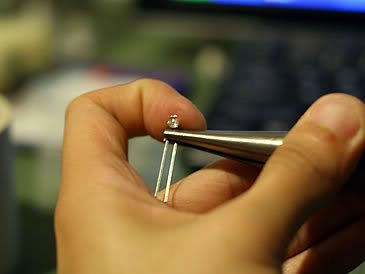
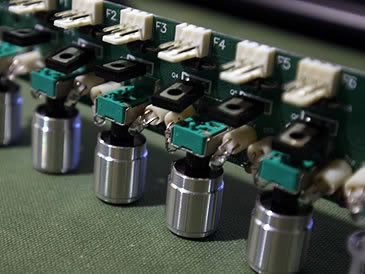
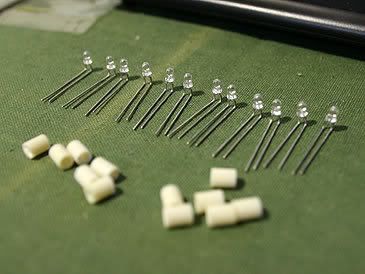
I couldn't do any work on the front panel or side casing due to the rain, so i decided to do some soldering. The LED on the fan controller are blue and i hate those cliche blue LEDs so commonly used in a lot of products these days. I was going to change the LEDs to orange colored LEDs. The new LEDs needed to be bent to a 90 degree angle to follow the design of the existing LEDs.
I can seriously say that soldering is not an easy task! And i think i suck in soldering, either that or 20w solder is not hot enough! It took me hours to solder out all the existing LEDs, 12 to be exact.
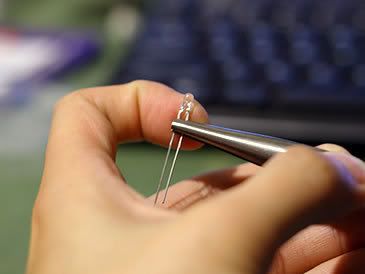
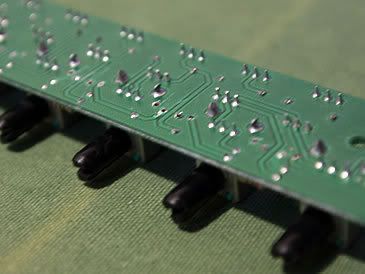
Next is to prep the LEDs to be soldered onto the PCB(printed circuit board).
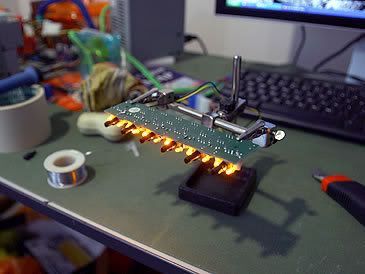
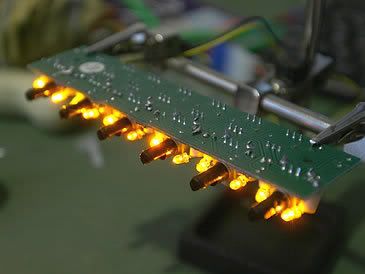
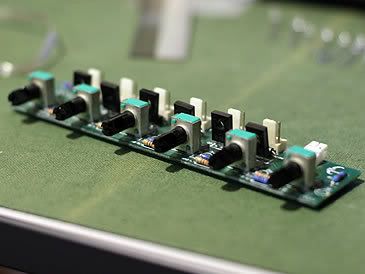
Here is the completed soldering work. New orange LEDs replacing the old blue LEDs. Don't they look nicer. They are actually amber LEDs, i couldn't get my hands on any orange ones.
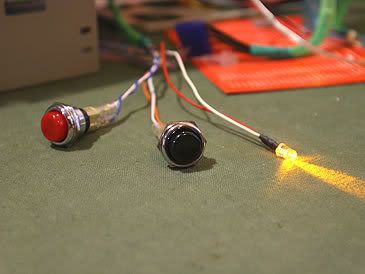
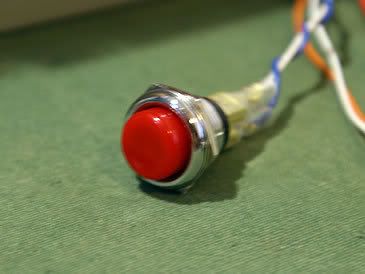
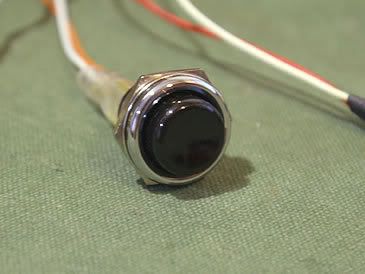
Since i was soldering the fan controller i decided to change the current switches to the new ones and also replace the red LED of the HDD activity light to an orange LED as well.
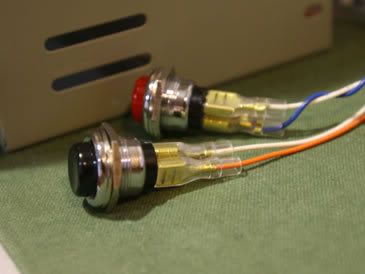
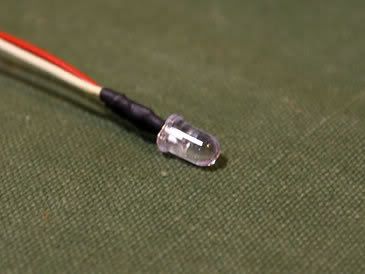
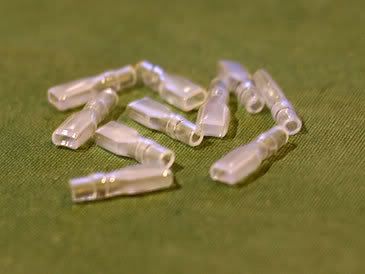
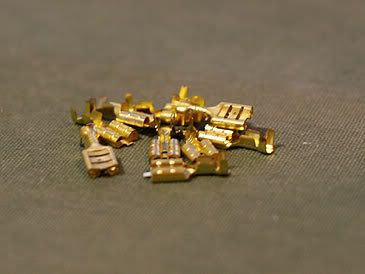
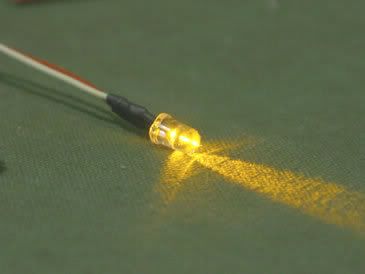
Here is the insulation hosing & detachable plugs, so i won't get short circuit and for easy removal of the wires when i install the switches onto the front panel. The wires for the HDD activity light are soldered onto the LED and protected with heat shrink.
Stay tuned for more updates...

2 Comments:
What are the switches for?
Btw, I forgot to bring out the CPU. Will try to remember this week
20/11/06 3:34 am
no worries dude.
Anyway the switches are for the on/off button and reset button.
I have two more switches to replace - 2 UV lights buttons.
These switches have an led inside the button, so it will light up when you turn it on.... will get it done tonight...
20/11/06 9:13 am
Post a Comment
Subscribe to Post Comments [Atom]
<< Home