Project updates - Front panel stealthing (Part II)
Posted : Saturday, November 04, 2006 by johnybravo at 10:08 am
![]()
Continueing from where we left off, the top part of the acrylic has been filed off and the front portion is ready to b worked on...
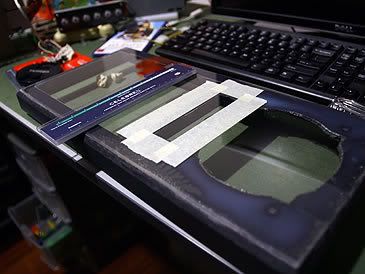
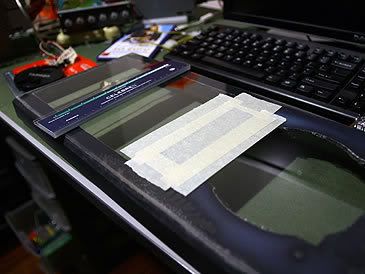
The 3.25" disk drive bay has been converted to fit the switches - on/off, reset, HDD activity light and two UV light swtiches as well. First the area that is to be drilled is masked off. Then the center is again masked, so that the outline of the holes to be drill can be drawn.
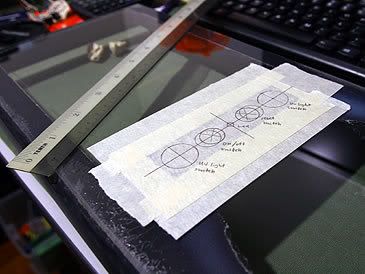
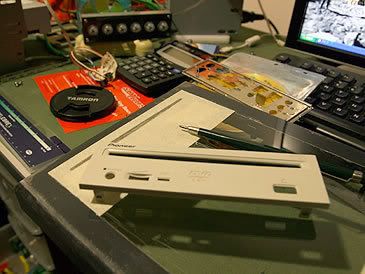
The outlines for the switches have been marked, i then move on to the top where the optical drive bays are. I removed the front bezel of my slot loading dvdrom and outlined it.
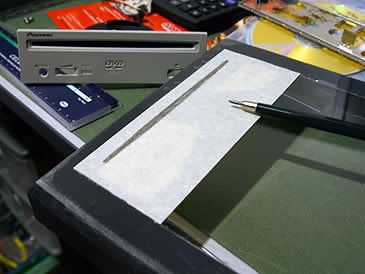
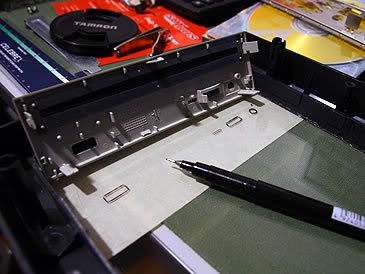
The front portion has been outlined. Now i focus on the back of the fton bezel, i had to do it backwards cause you cant outline it from the front due to the layout of the eject button and all.
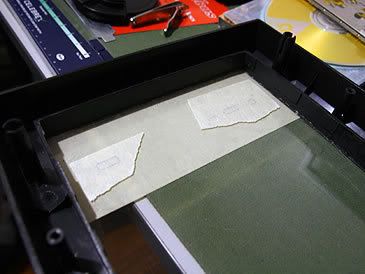
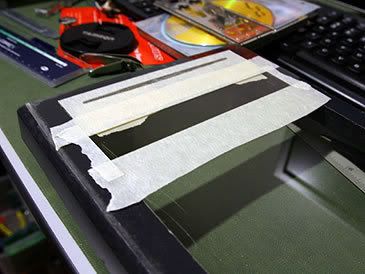
I later then masked the buttons outline of the dvdrom. Next i flip it over to the front again and mask out the slot for the dvd burner.

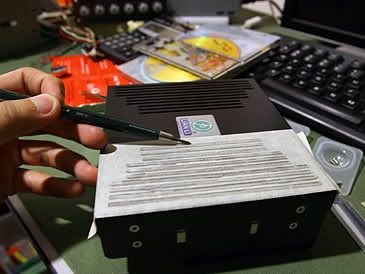
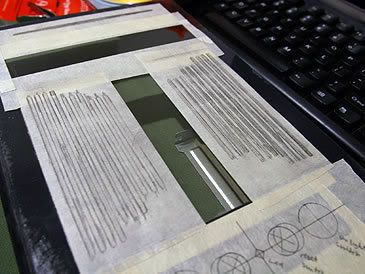
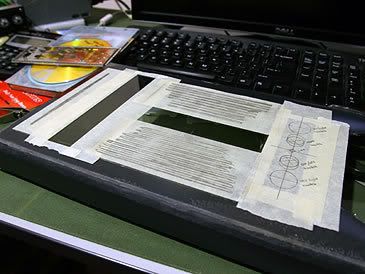
Now for the tough part, here i mask the front grill of the LianLi HDD extension kit and i trace the outline of the grills with a pencil. After the tracing has been done, i removed the masking tape and transfer it onto the front bezel. This is done to replicate the front design of the grills.
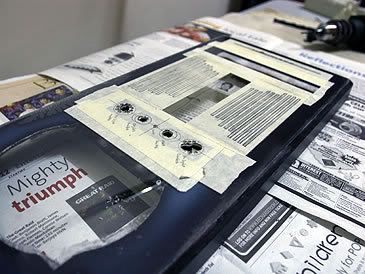
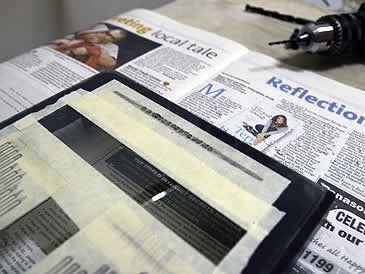
Drilling time, switches drilled, slot load hole drilled and some portions of the grill drilled.
The blow hole at the bottom has not been touched and will be left for later after i have drilled and filed the rest of the holes.. Thats all for now...
Stay tuned for more updated...

2 Comments:
eh btw, i have another casing for you if you want. More complete than the last one.
6/11/06 3:34 am
thanx man, the last case you gave me was like what you said - not going to be of much use to me. But i did manage to salvage some parts from it.
6/11/06 10:23 am
Post a Comment
Subscribe to Post Comments [Atom]
<< Home