Project updates - Front blow hole (Part I)
Posted : Friday, October 20, 2006 by johnybravo at 12:00 pm
![]()
Making a blow hole without a hole saw sucks! Manually sawing and filing plastic is no joke at all. I even tried using a hobby cutter to cut small bits out but that proved too tiring and ineffective.
Check out the process.
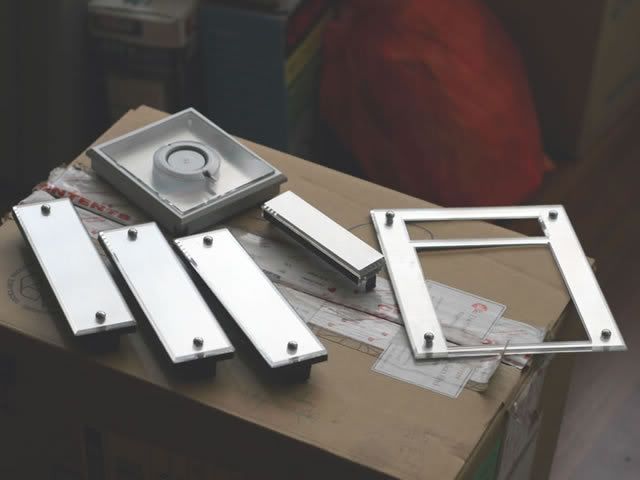
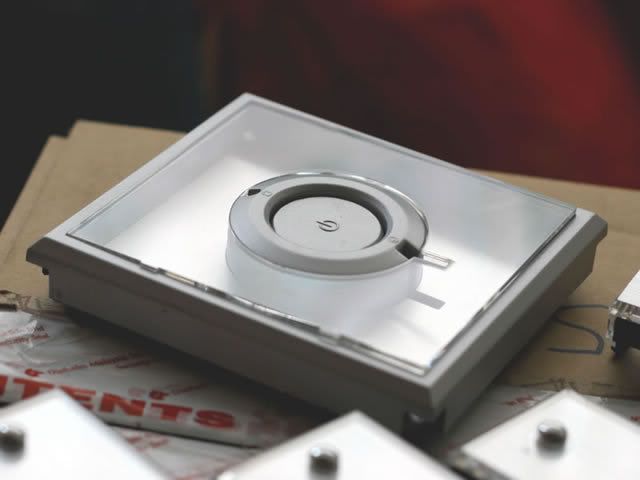
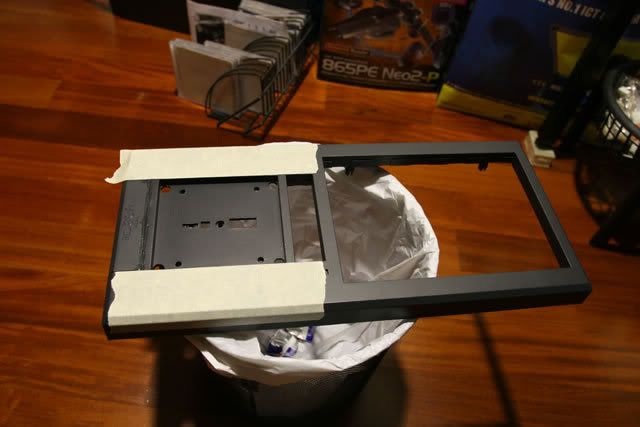
The front bezel had to be removed from the casing and taken out to be work on. First i removed the panel housing the switches for turning on/reseting the pc and HDD activity light. Removing the optical drive bay panels was easy as unclipping it off the front panel. Basically the front panel had to be stripped.
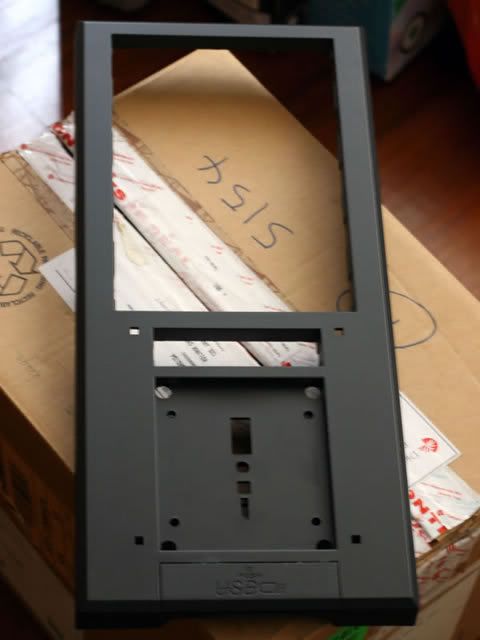
Empty front panel
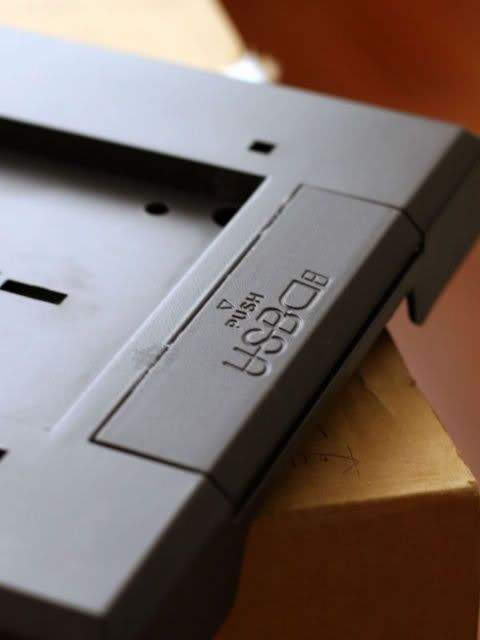
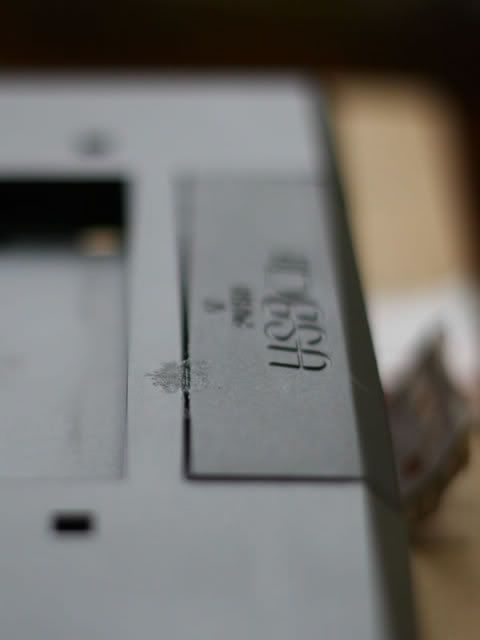
At the bottom of the front panel are two USB ports which has a press and pop out cover. This needed to be glued together to make it flat.
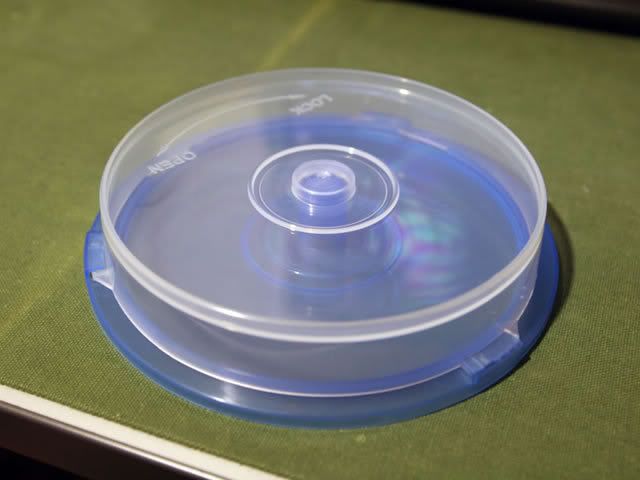
This is the template for the blow hole, it is a cd storage casing.
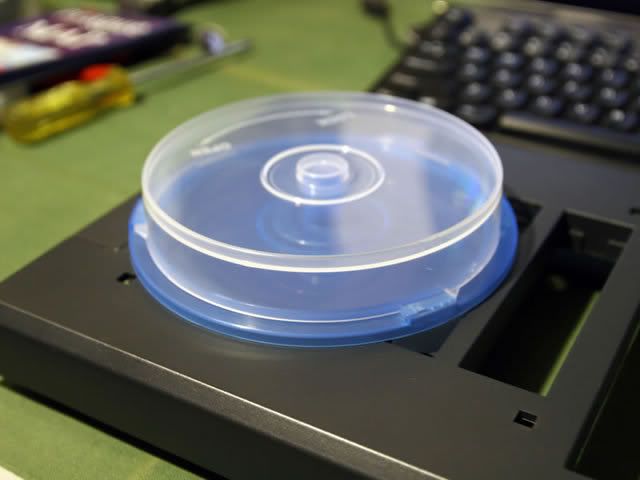
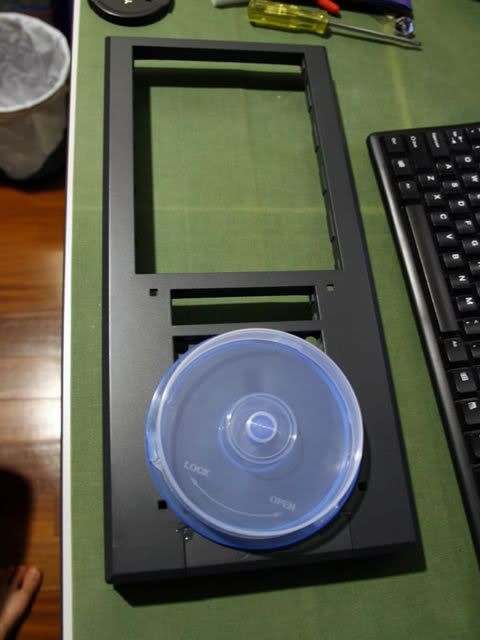
Looking at the pictures above you can raftly tell what i am going to do here. First a hole will be cut where the cd casing is being place now. Later, i will glue the cd case into the hole and it will act as a tunnel for the air to flow - BLOW HOLE.
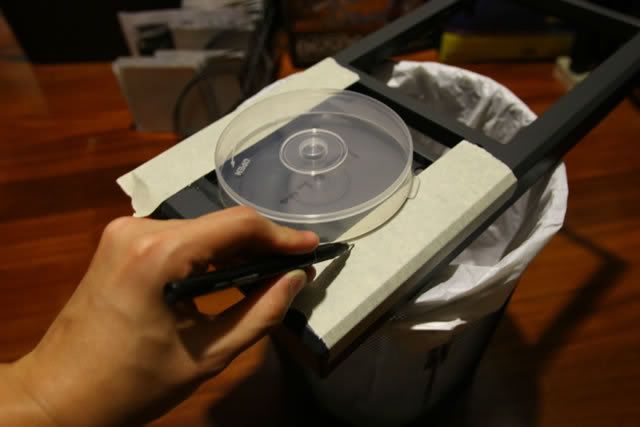
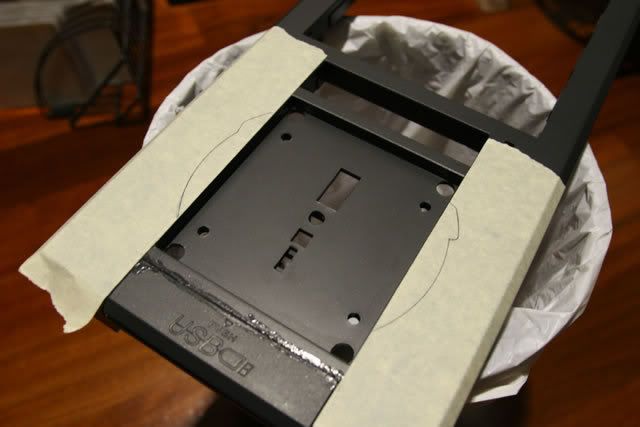
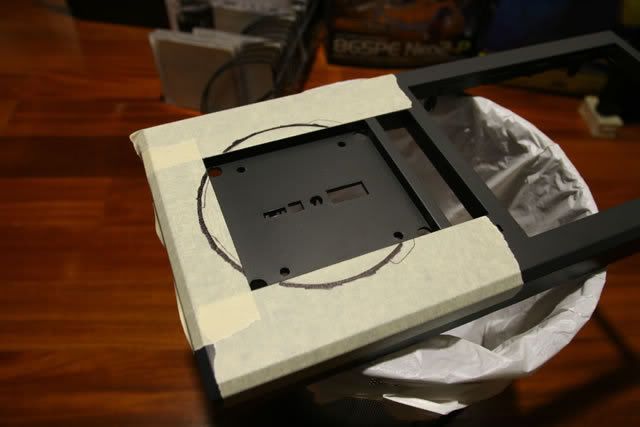
Masking and outlining the template onto the front panel.
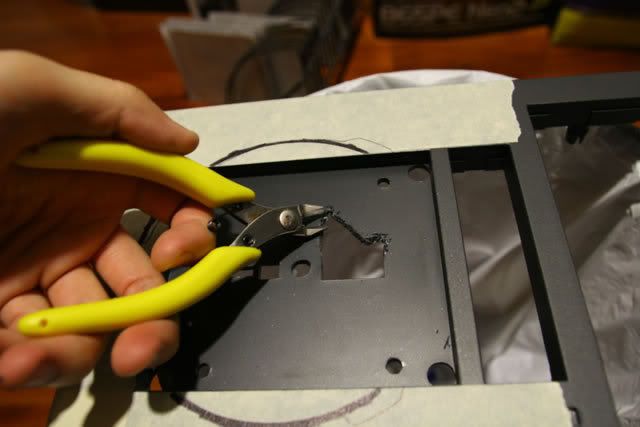
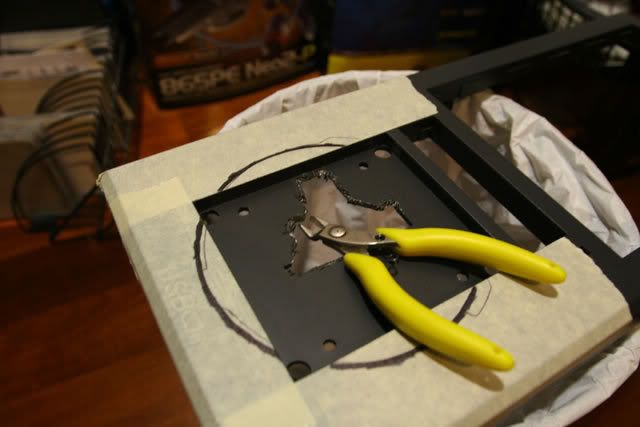
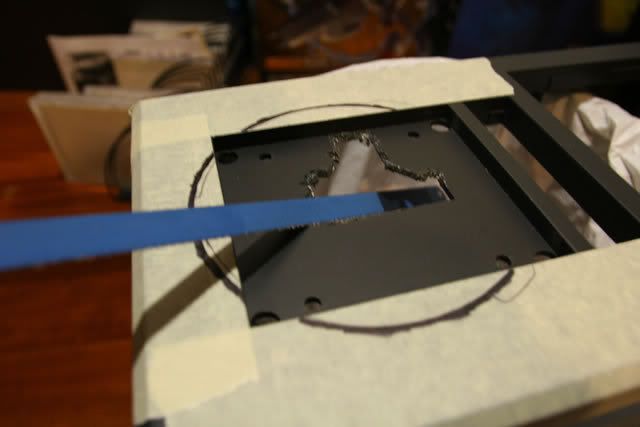
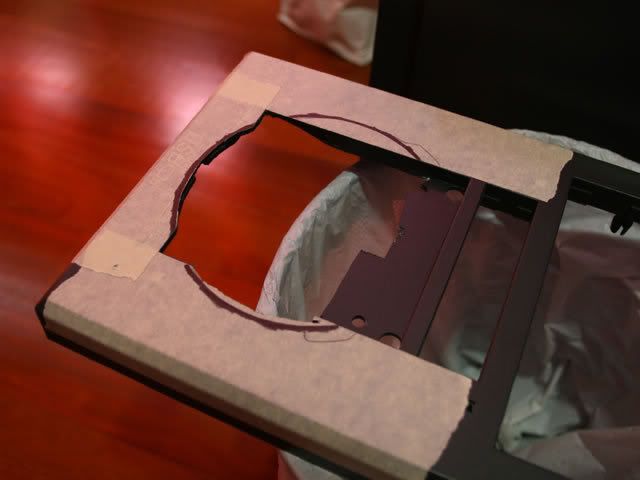
As i mention earlier, i used a hobby cutter to try and cut bits and pieces out, thinking that this would be easier but i was so very wrong! I even tried using a hacksaw without the handle to slowly saw bits and pieces out as well but that was ineffective as well.
Thats all the updates for now, stay tuned...

3 Comments:
oi!
just buy a new casing la. cheap oni wat :p
24/10/06 3:32 am
Naz - defeats the purpose of case modding. And it's more fun too.
Johny - you mod the front for the fan but there are not enough "blow holes" on the metal casing for the air to circulate, you gonna cut that too?
27/10/06 4:26 am
have to cut the metal part of the casing to accomodate the fan lor...
27/10/06 10:54 am
Post a Comment
Subscribe to Post Comments [Atom]
<< Home