Free Website Counter

Project updates - Front panel stealthing (Part I)

Posted : Monday, October 30, 2006 by johnybravo at 11:16 AM | 0 Comments


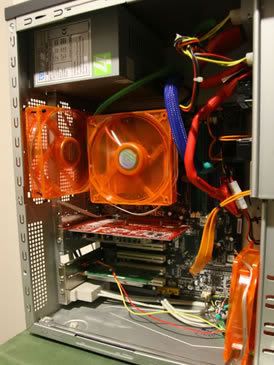
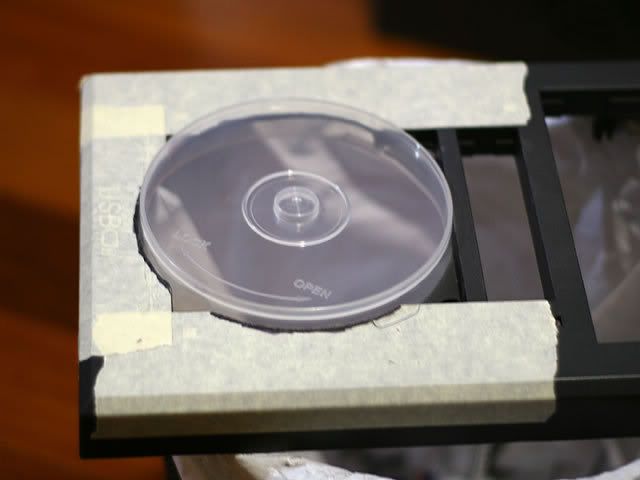
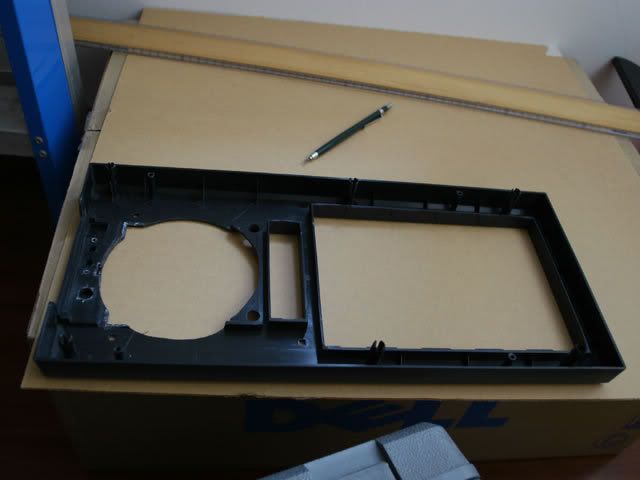
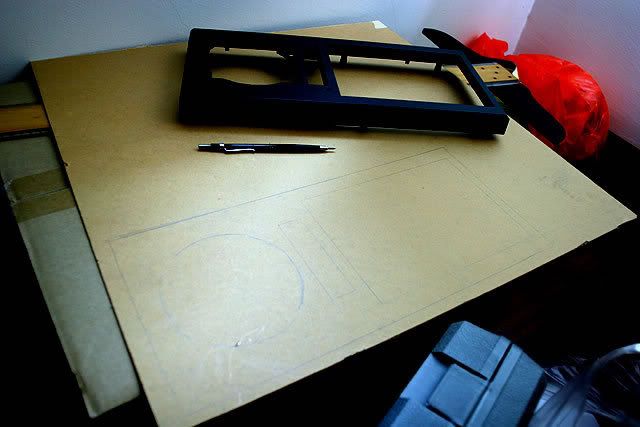
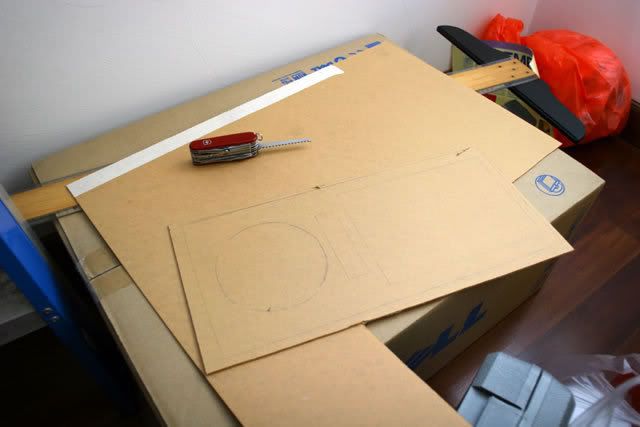
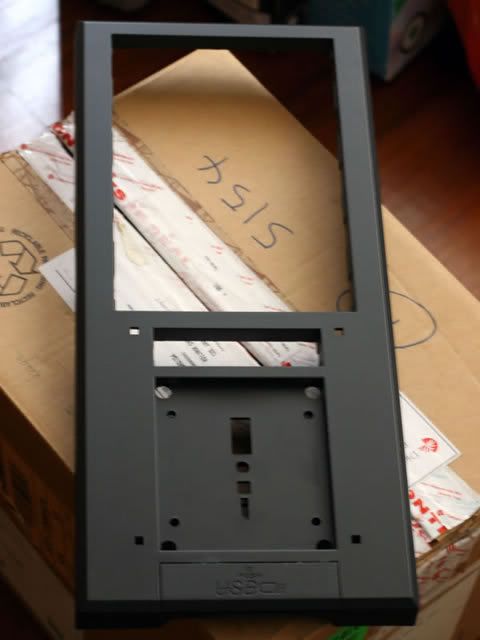
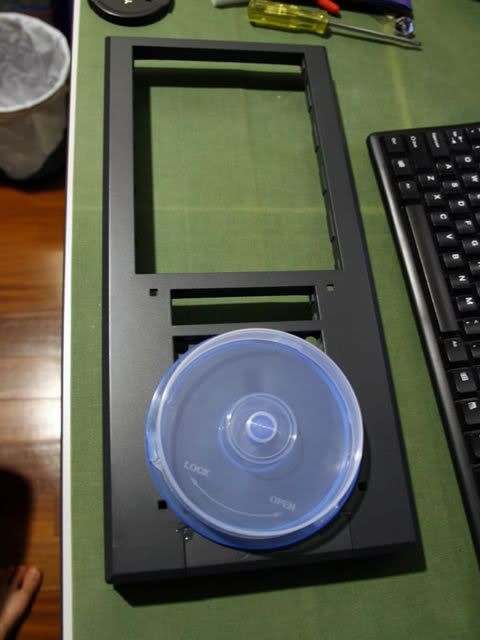
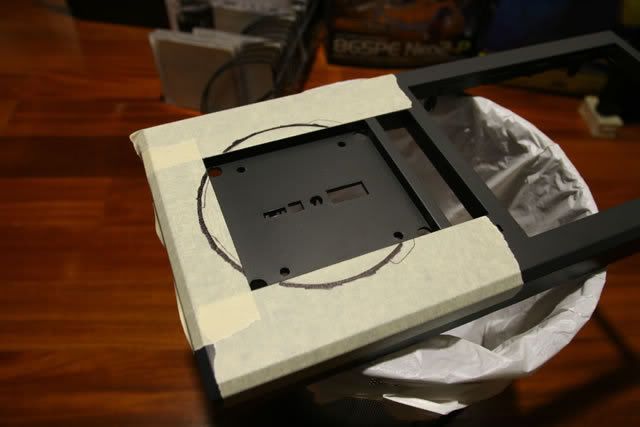
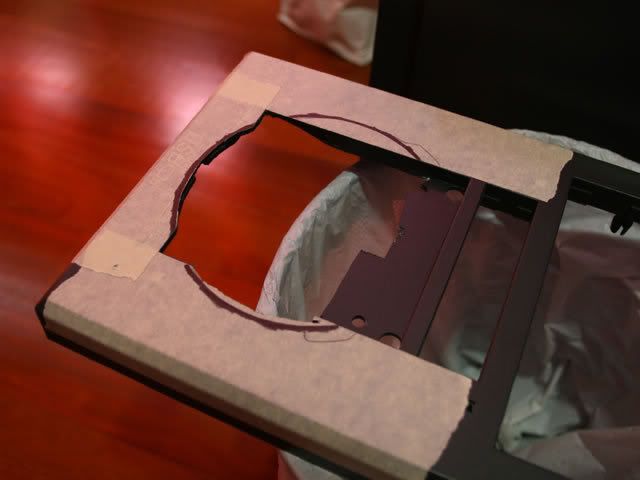
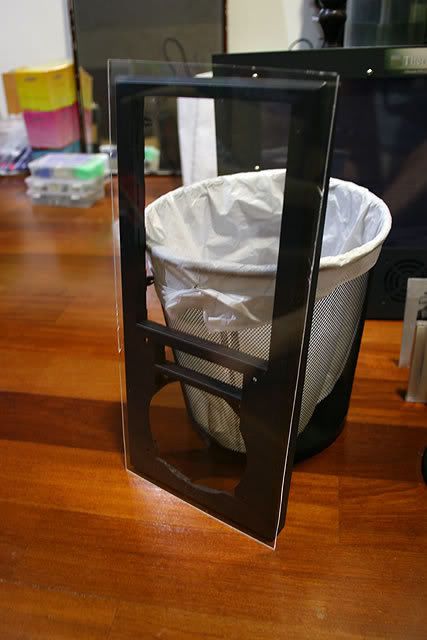
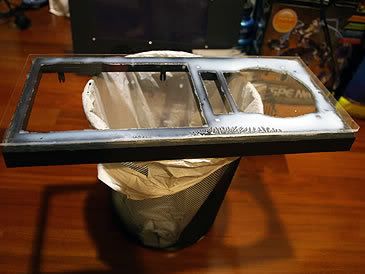
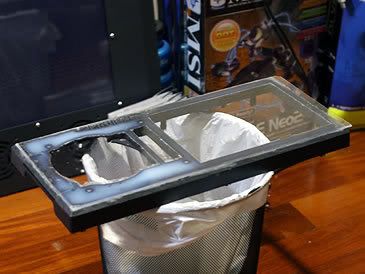
For the front panel stealthing, an acrylic sheet was cut to shape and glued onto the front panel.


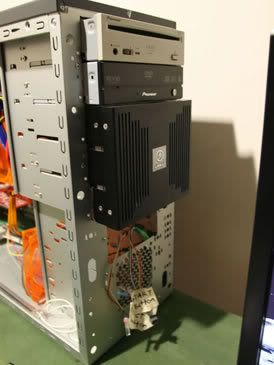
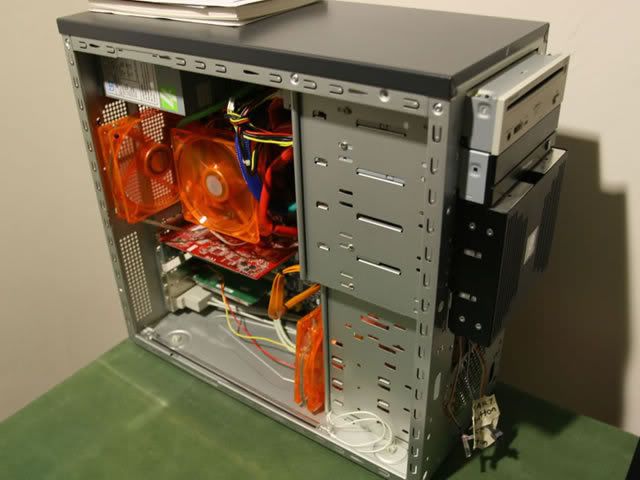
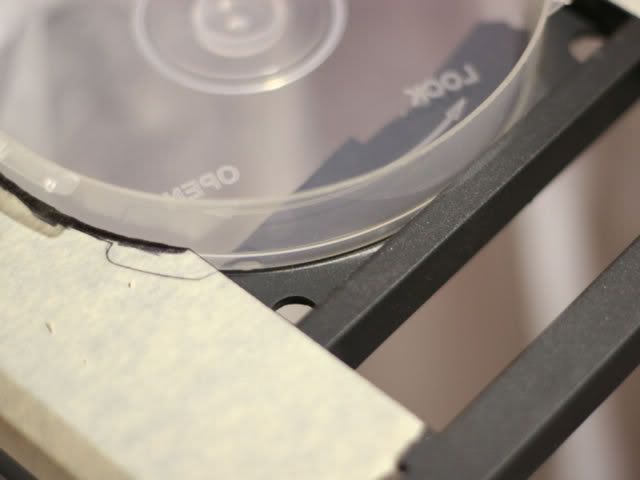
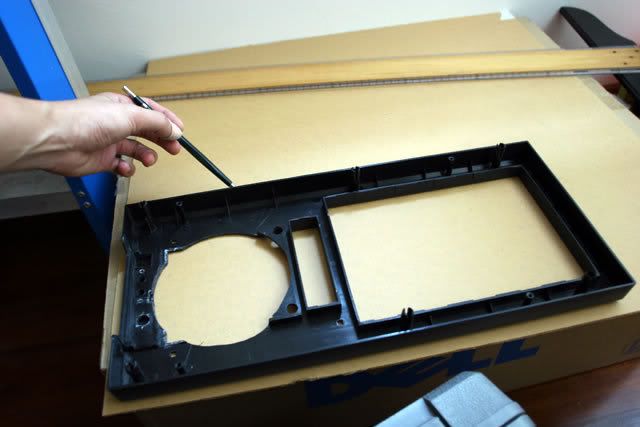
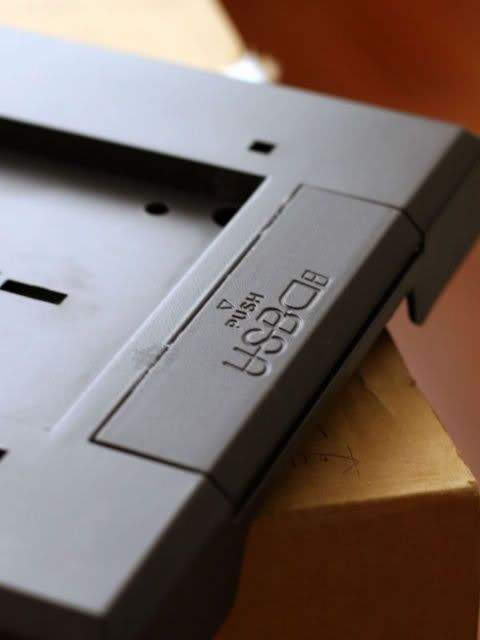
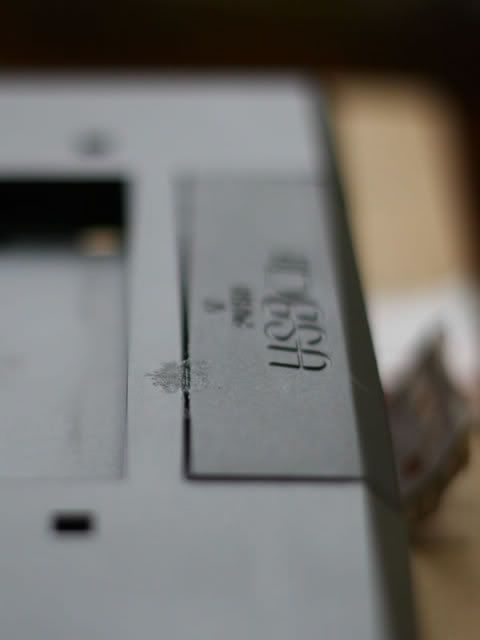
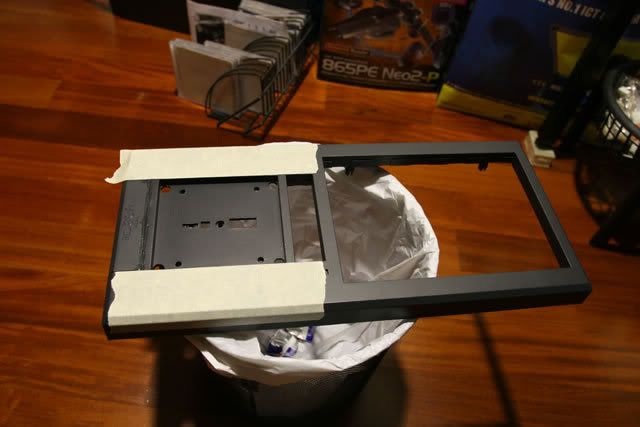
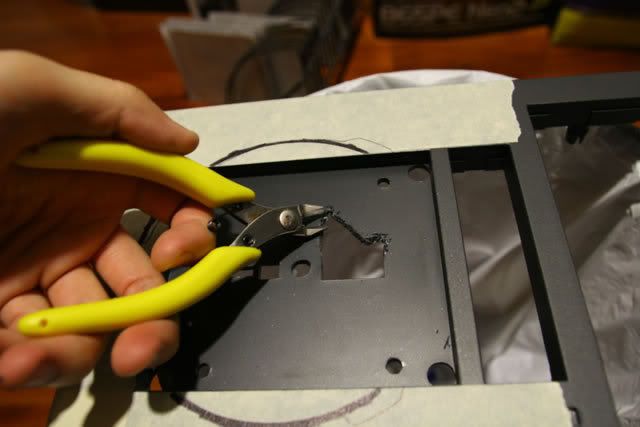
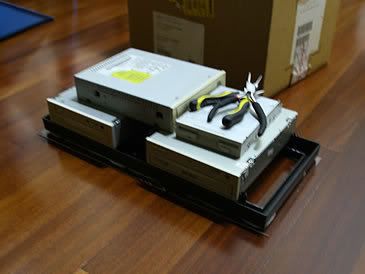
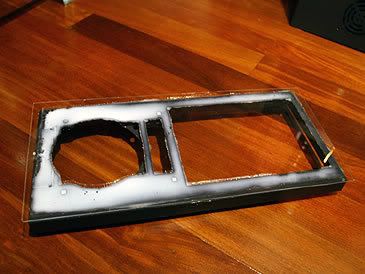
Before the acrylic sheet could be glued to the front panel, grooves along the rails of the optical drive covers had to be filled off in order to fit the HDD expansion kit properly.


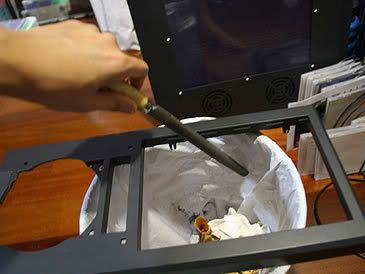
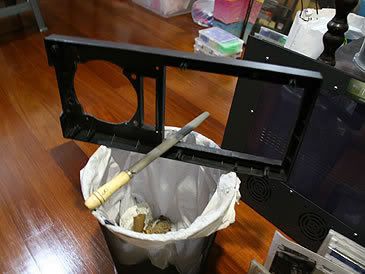
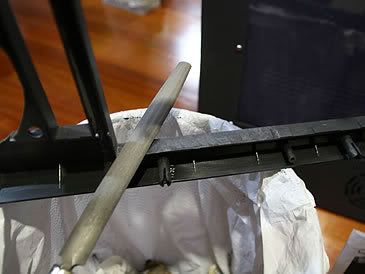
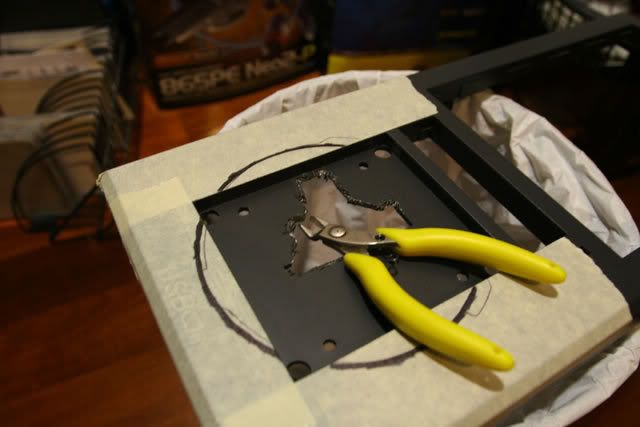
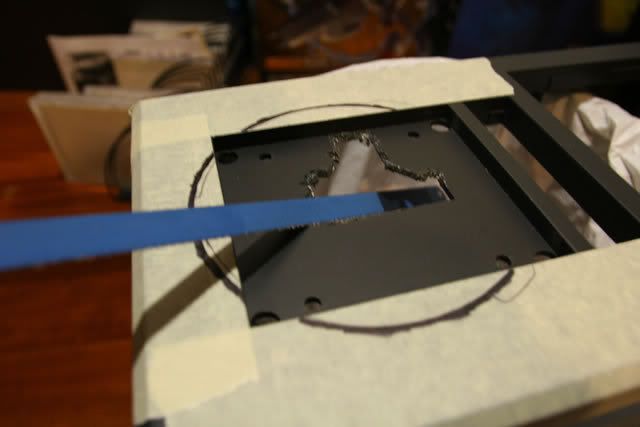
The grooves were flattened and the HDD expansion kit could fit in nicely.


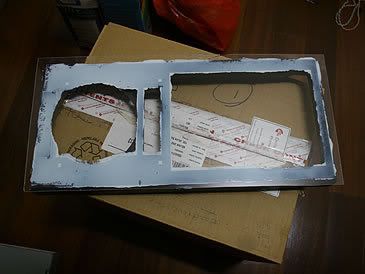
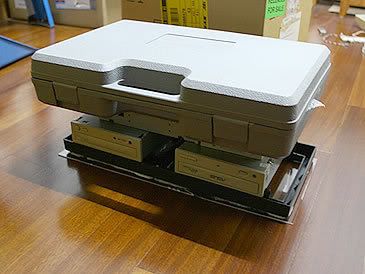
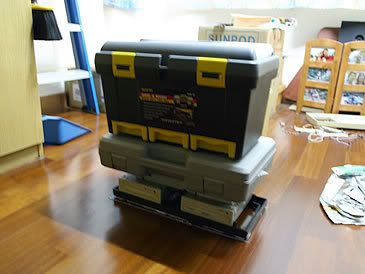
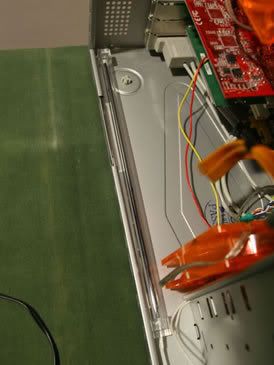
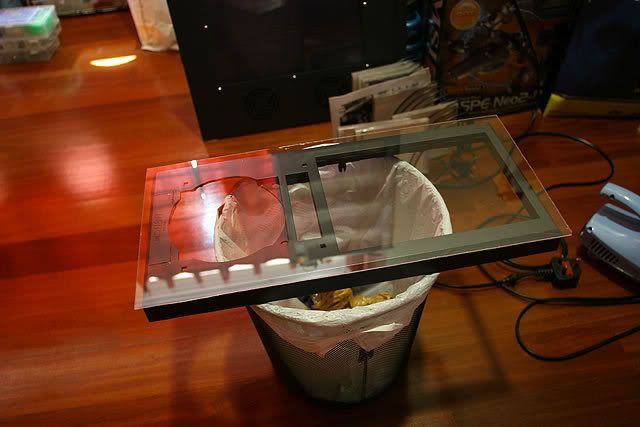
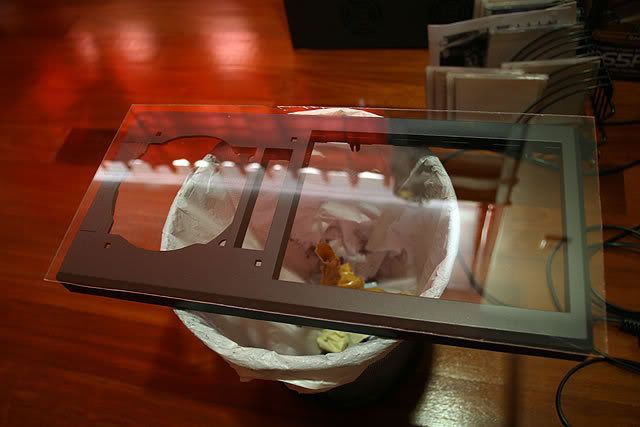
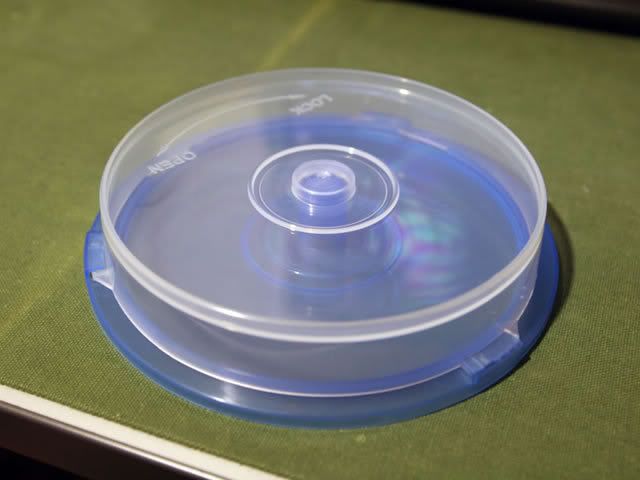
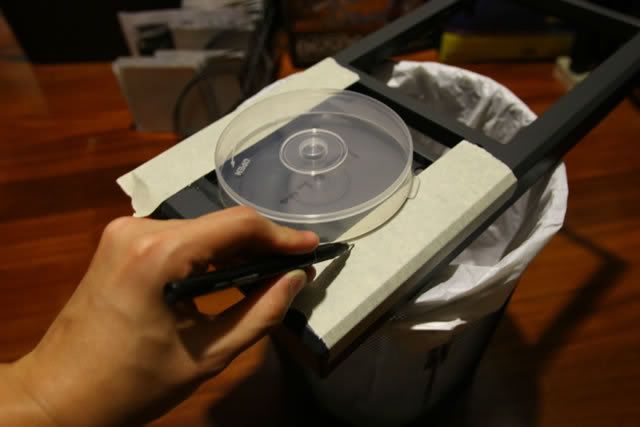
The acrylic sheet is glued to the front panel and pressed down with some weight.


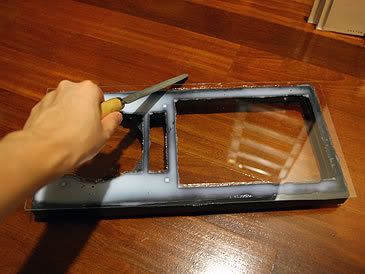
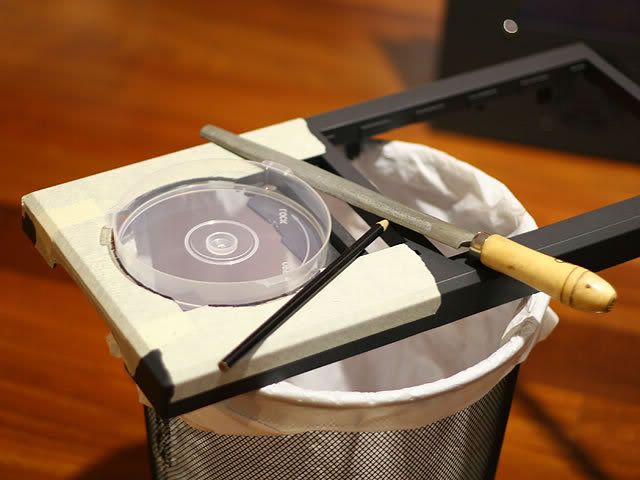
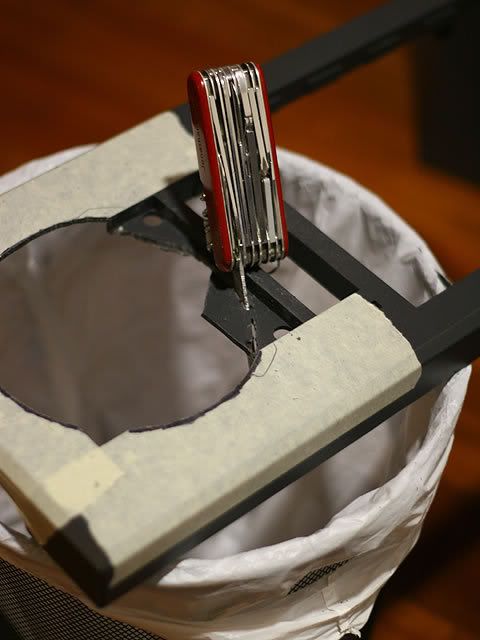
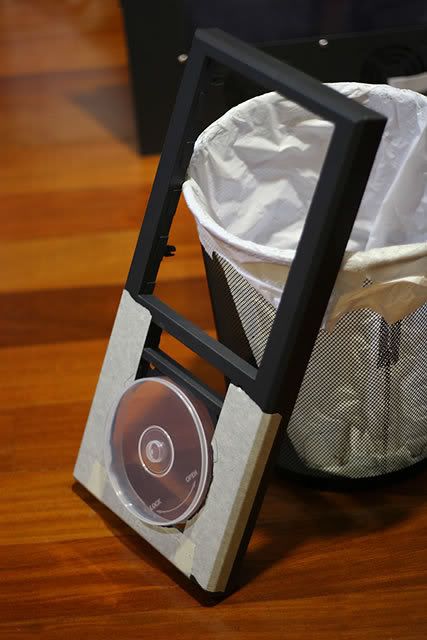
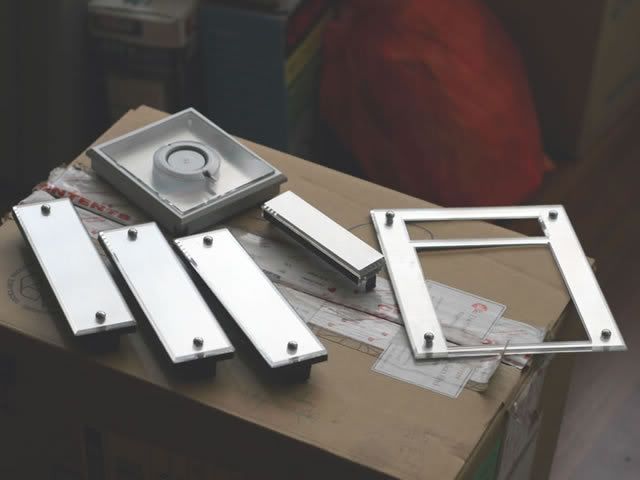
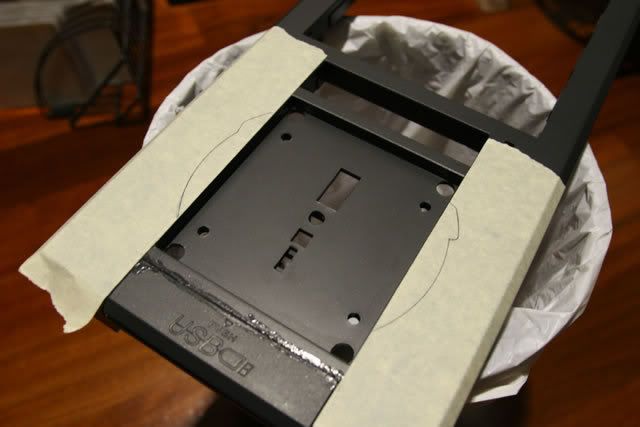
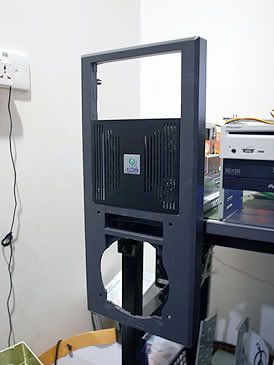
After waiting 24 hours for the glue to dry, it was time to file the sides to a 45 degree angle. This is done to follow the original design of the front panel.


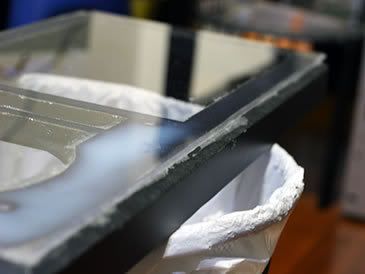
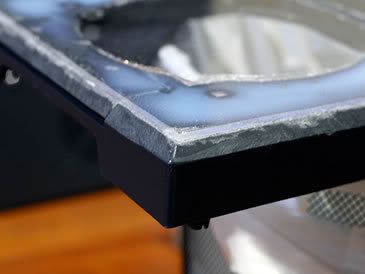
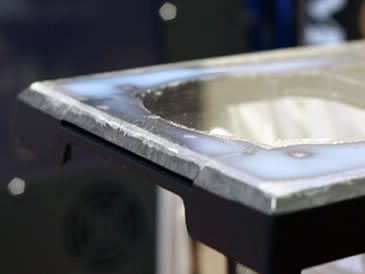
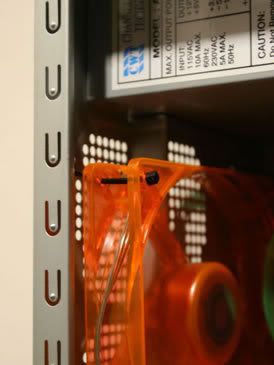
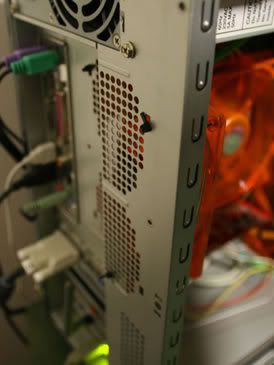
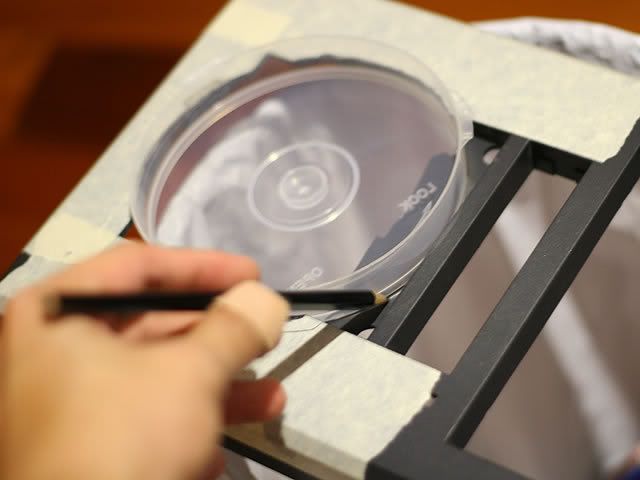
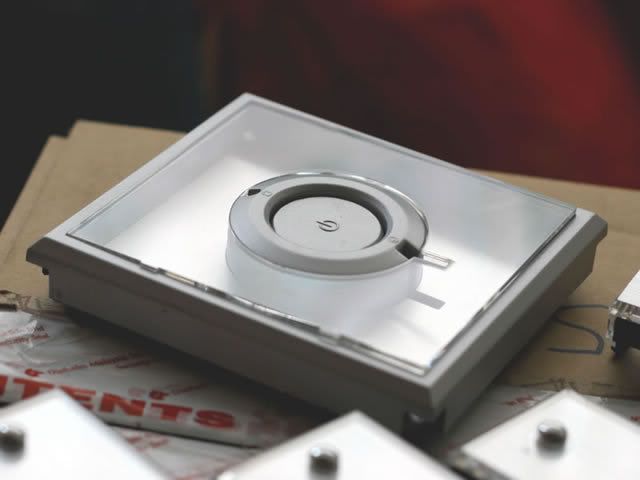
Some close-ups of the filed edges. So far only 3 sides have been filed.


Still left with the top part to be filed off. Thats all the updates for now.


Stay tuned for more updates...

____________________
|   0 Comments   |


Project OrenSix - Rough Mock Up

Posted : Thursday, October 26, 2006 by johnybravo at 8:18 PM | 1 Comments


Here is a rough mock up of where the fans will go and an added aluminium HDD expansion kit that fits 4 HDD but only 2 HDD will be use, this expansion kit uses 3 optical drive bays space to fit...


You can see where 3 of the fans will go to, The CPU cooler, rear and front blow hole. Placement of the UV light is also tested to see if it fits.


The rear fan is fitted using cable ties to hold it into position.


The 3.25" bays will be taken out to make way for the 120mm UV fan to fit into place. This casing has 5 optical drive bays, the first two have been occupied by the DVD-rom and the DVD burner. The remaining 3 bays are used to put the HDD expansion kit.


The overall view of the rough mock-up.


Stay tuned for more updates...

____________________
|   1 Comments   |


Project updates - Front blow hole (Part II)

Posted : by johnybravo at 10:50 AM | 2 Comments


Okay more updates...

In the end i used my SwissArmyKnife which has a wood saw, which cuts through plastic like a Samurai Sword would cut through paper... haha


The partially cut blow hole had alot of rough edges and the cd case which was used to outline the circular shape would not fit, so the edges had to be filled. After much filling and fitting the cd case fit in nicely and the shape was marked with a pencil. If you look at the picture of my hand holding the pencil you would notice there is a plaster on my thumb - Battle Wound from modding :)


Finally got a pic of me using the SwissArmyKnife to cut the plastic out and more fitting of the cd case. You can roughly get a clearer picture of what i`m trying to make here - Blow Hole! The shape of the blow hole is now done. Time to make the stealthing of the optical drives and a new surface for the front panel!


I placed the front panel onto a sheet of acrylic, outlined the shape and cut it out.


This pictures will give you a better idea of what i am going to do. Fitting the acrylic sheet onto the front panel(look at how reflective they are). The idea is to make the front look like it is seamless. The optical drives will be hidden and rectangular shapes will be cut out for the cd-rom trays to slide out, the blow hole shape will be cut out too.


Thats all the updates for now, stay tuned...

____________________
|   2 Comments   |


Project updates - Front blow hole (Part I)

Posted : Friday, October 20, 2006 by johnybravo at 12:00 PM | 3 Comments


Making a blow hole without a hole saw sucks! Manually sawing and filing plastic is no joke at all. I even tried using a hobby cutter to cut small bits out but that proved too tiring and ineffective.

Check out the process.


The front bezel had to be removed from the casing and taken out to be work on. First i removed the panel housing the switches for turning on/reseting the pc and HDD activity light. Removing the optical drive bay panels was easy as unclipping it off the front panel. Basically the front panel had to be stripped.


Empty front panel


At the bottom of the front panel are two USB ports which has a press and pop out cover. This needed to be glued together to make it flat.


This is the template for the blow hole, it is a cd storage casing.


Looking at the pictures above you can raftly tell what i am going to do here. First a hole will be cut where the cd casing is being place now. Later, i will glue the cd case into the hole and it will act as a tunnel for the air to flow - BLOW HOLE.


Masking and outlining the template onto the front panel.


As i mention earlier, i used a hobby cutter to try and cut bits and pieces out, thinking that this would be easier but i was so very wrong! I even tried using a hacksaw without the handle to slowly saw bits and pieces out as well but that was ineffective as well.


Thats all the updates for now, stay tuned...

____________________
|   3 Comments   |


Project updates - fan grill

Posted : Thursday, October 19, 2006 by johnybravo at 10:38 AM | 6 Comments


I am going to make a blow hole at the top of the casing to let hot air out...

A custom-made fan grill will be accompanying that blow hole.


First i will have to mask the acrylic sheet and outline the size of the fan grill.


Next i made a template of the design in photoshop, printed it out and cut the template out to be traced on the masked acrylic sheet.


The design has been outlined and ready to be cut out.


As you can see i have used a drill to drill small holes and slowly saw/file the unwanted pieces out, this is a rather tedious process when you dont have the proper equipment, e.g. - Dremel!


I am 90 percent done here with drilling and filing and sawing the bits out.


Completed fan grill, this is not a UV acrylic, it is normal clear acrylic which was painted with some fluro spray can earlier.

____________________
|   6 Comments   |


Project OrenSix

Posted : Wednesday, October 11, 2006 by johnybravo at 9:58 AM | 3 Comments


First of all the name came about from using Orange UV active fans. The aim is to fit 6x120mm fans into the casing. That is quite a difficult task considering its a medium size ATX casing.

Here are some pics of the casing at its current state...


Left side


Front


Right side


Back


Inside of the casing


CPU cooler with 92mm UV led fan


Coiled sata cabling


Messy cable management


Rear 2x 80mm fans


Partially sleeved cable

____________________
|   3 Comments   |


Case modding

Posted : Friday, October 06, 2006 by johnybravo at 10:00 AM | 0 Comments


Have been very occupied lately. Been doing lots of research reading up on case modding and sourcing for materials and stuff. Will be posting up some pictures from the case modding project.

Case = Computer casing
Modding = Short for modifying.

Look out for Project OrenSix...

____________________
|   0 Comments   |